For connecting Alexa with Rockspace Extender, firstly you need to setup Rockspace WiFi extender. For the setup of a WiFi extender, you need to follow some steps which are as follows:
- The very first step is you make sure that you have the SSID and password of the main WiFi router. Then plug in the Re.rockspace.local to the power outlet.
- Once done then by enter 192.168.0.254 or Re.rockspace.local search for the default IP address of the extender.
- After that fill in the login details by adding admin and password then available networks will displayed on the screen & choose the main network from the available networks.
- Now just follow the instructions which will displayed on the page & by doing so, the extender will connected to the router successfully.
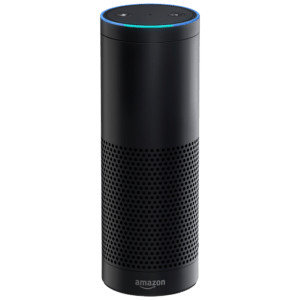
Once the Rockspace WiFi extender setup is done then you can connect your extender with Alexa. For this, you first need to have Amazon Alexa & you can find it on alexa.amazon.com.
Before starting the process, Plugin your Amazon Alexa to the power outlet then open the Alexa App.
Steps of Alexa with Rockspace WiFi extender setup:
- Open the settings from the navigation panel of Alexa App then set up a new device.
- After that press and hold the action button for a few seconds until the light starts blinking after this & then your mobile phone or tablet will connect to Alexa.
- A list of WiFi networks will show on your Alexa app.
- You need to select the modem’s WiFi network. The name & password of the modem’s WiFi network will show on modem/router then enter the password.
- In case, your modem’s WiFi network is not visible to you then scroll down & re-scan.
- Once the network visible to you connect it, Alexa, to the modem. After the connection, you will get the confirmation message & you are good to go for using Alexa.