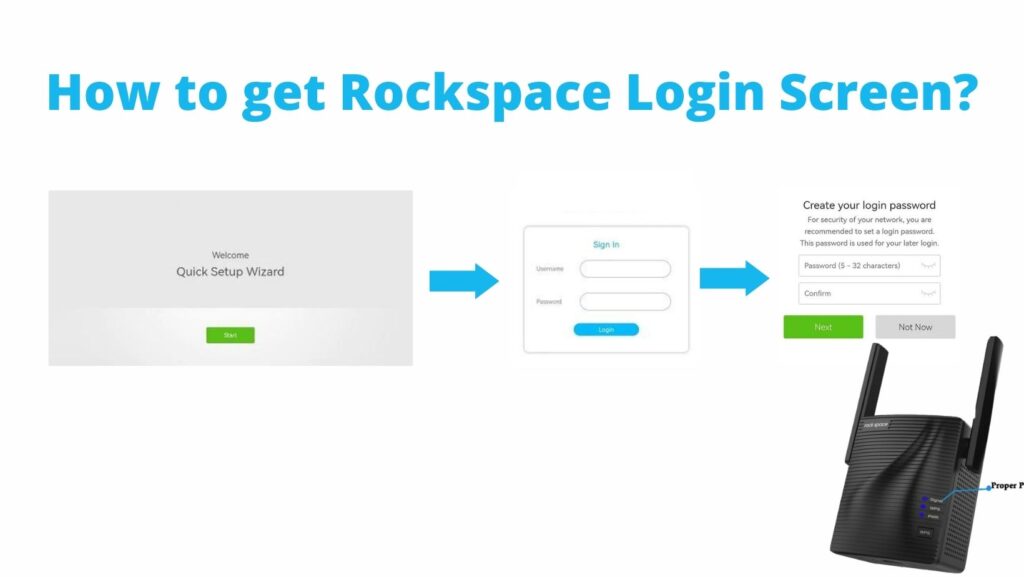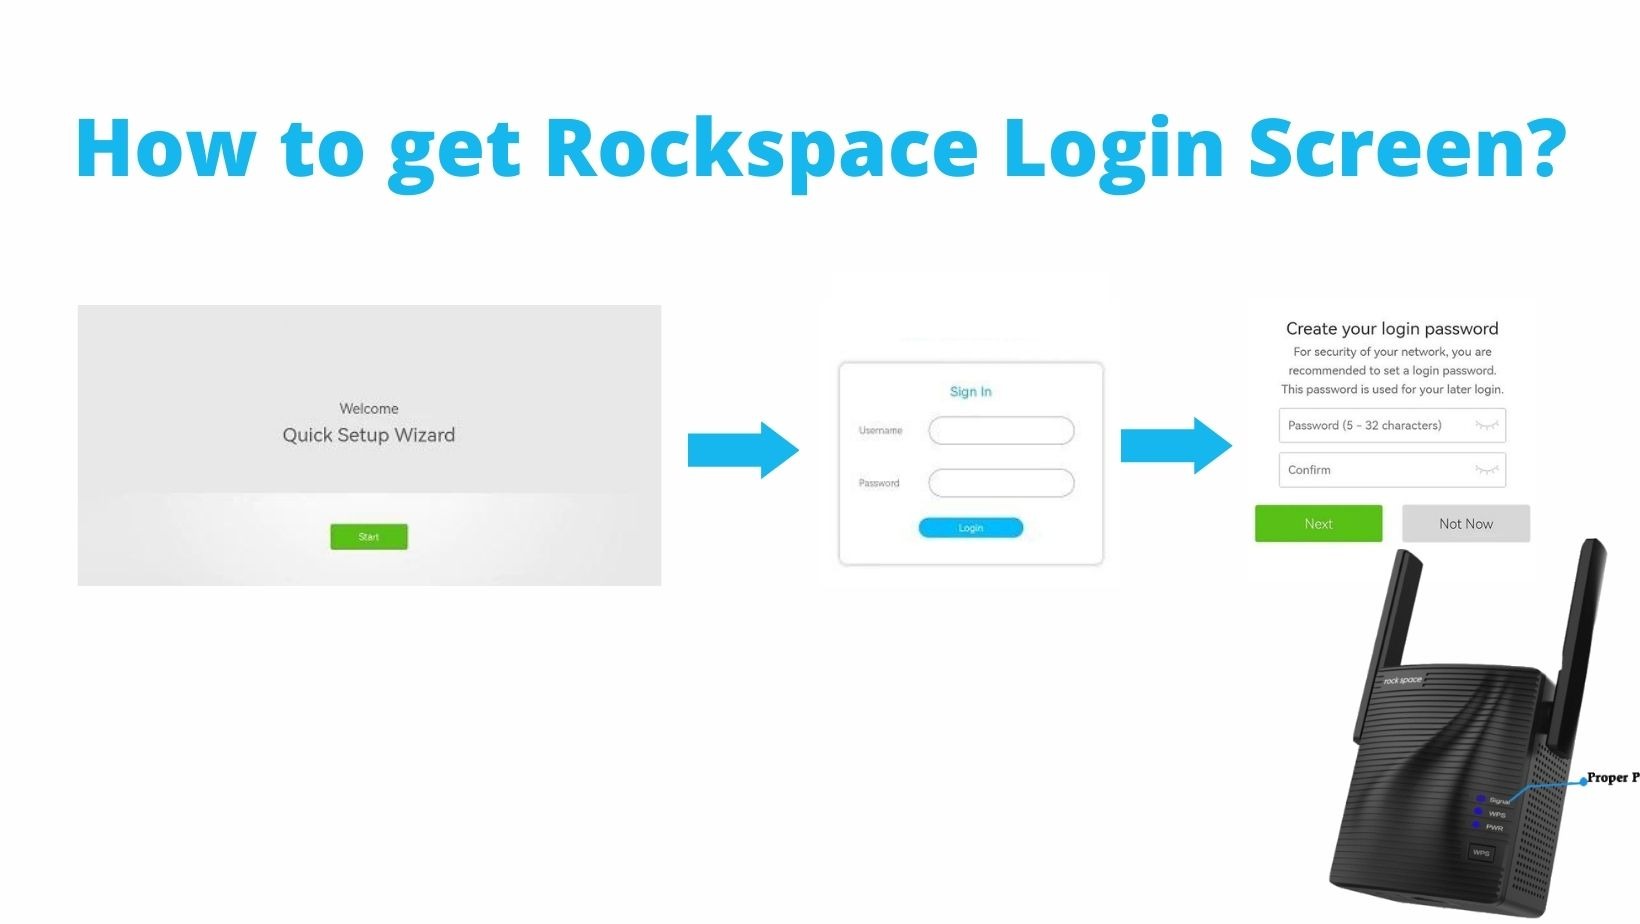
This article will be able to resolve the issue many customers face in getting the “Rock Space login screen”. It usually happens when users mistype the login URL or search for “rackspace login” instead of “rockspace login”.
So, in order to resolve the issue, make sure you complete the steps outlined below.
Rockspace Extender Login:
To access the Rocksace Login page, ensure that you are using the right web URL. “Re.rockspace.local” is the proper URL. This link may only be used for the new Rockspace Extender. You can’t access the Rockspace extender setup or admin page after it’s linked to the router. log in to the router admin page to get the IP address assigned to the Rockspace extender. You can use the IP address to get to the admin page.
Rockspace Extender Default Password:
Once you are able to get to the login screen, you will be prompted for the default username and password. Many users are stuck on this step as they are not aware of the Rockspace Extender default password. They usually type in the wifi password, which is incorrect. The default username and password for Rockspace extender is “admin”. Once you enter the default password, click the login button, and you will be logged in to the Rockspace setup page. It is suggested to change the default username and password as soon as possible after a successful setup.
FAQ
You can log in to Rockspace extender using the default IP address and URL, i.e 192.168.0.254 & “re.rockspace.local“, in case it is brand new.
To change the Rockspace Extender password, you have to login to the Rockspace admin page. After that, go to Administration and click Management. Now enter the password you want to set as your range extender password, re-enter the password and hit save.
You may need to reset a RockSpace device if you’ve forgotten the admin password, if a firmware update failed, or if you want to make a new installation. When you reset the extender, the settings are reverted to factory defaults. This removes custom settings and requires reconfiguration. Only reset an extender if you know how to reconfigure it as a last option.
There are two methods for resetting the RockSpace extender.
1. Hard RESET
2. Soft RESET

Hard RESET
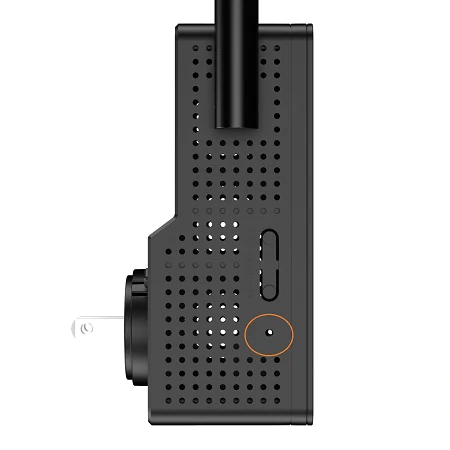
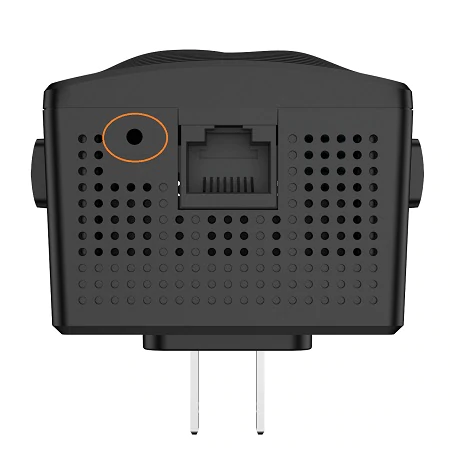
1. First, look for a small hole or a button that says “Reset” on the Rockspace wireless extender.
2. To push this button, use a paper clip.
3. Press and hold the button for 10 seconds, then let go when the LEDs on the front panel start to flash quickly.
4. Let the extender start up again.
5. The process of a hard reset is done.
After resetting, go to the Rockspace WiFi Extender Setup page to change the settings again.
Soft RESET
To use this method, you must log in to the Rockspace admin panel. Use re.rockspace.local or 192.168.0.254 to get to the Rockspace Wi-Fi extender login.
page.
1. Click on the settings button for the Rockspace extender.
2. Click on “Device Administration” and choose “Reset.” Just click on “Factory Reset.”
3. Once you click the “Reset” button, the process begins.
4. The status of the same thing will be shown on the screen.
When the process is done, the extender will restart, and you can change the settings again.
