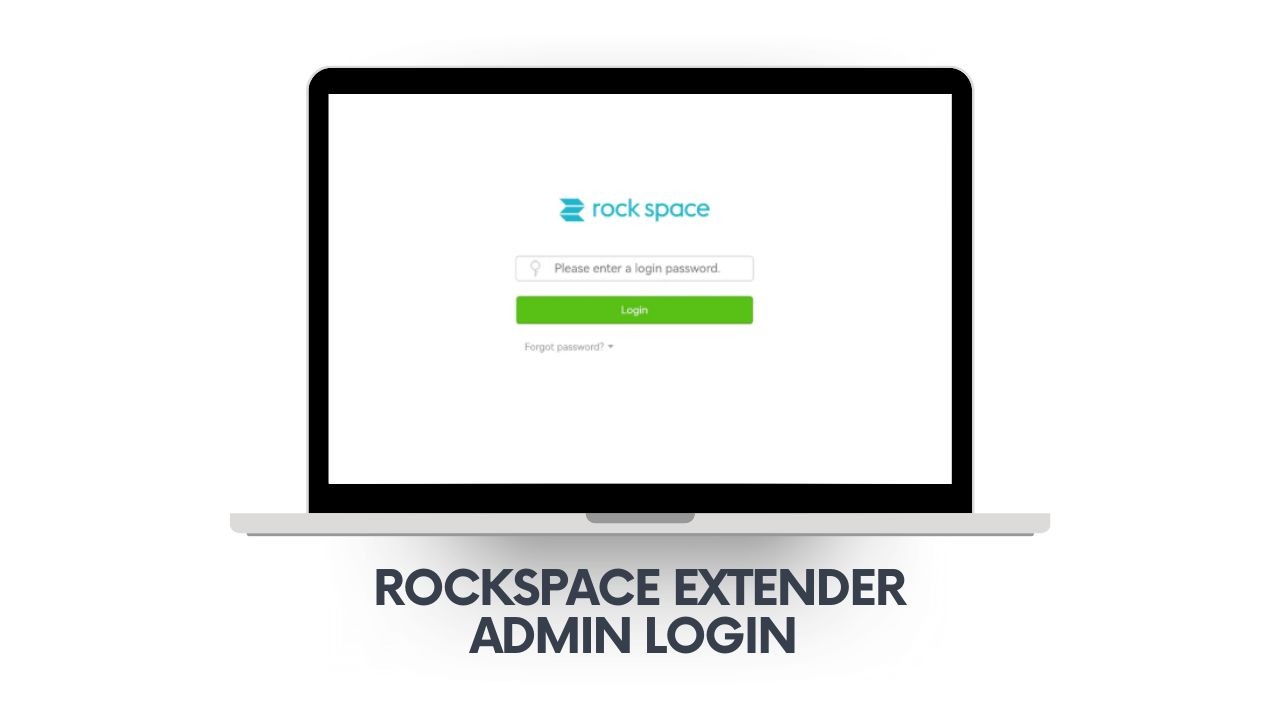
If you want to optimize your Rockspace WiFi extender, change advanced settings, or troubleshoot network issues, knowing how to access re.rockspace.local admin login is essential. This guide offers every step, tip, and solution you need—for beginners and tech-savvy users alike.
What Is re.rockspace.local?
re.rockspace.local is the official web-based setup portal for Rockspace WiFi extenders. Through this address, you can:
- Adjust extender placement and signal settings
- Change admin password
- Check device status and connected clients
- Update firmware
It works on any device (laptop, phone, tablet) connected to your Rockspace EXT network.
How to Use re.rockspace.local – Admin Login: Step-by-Step
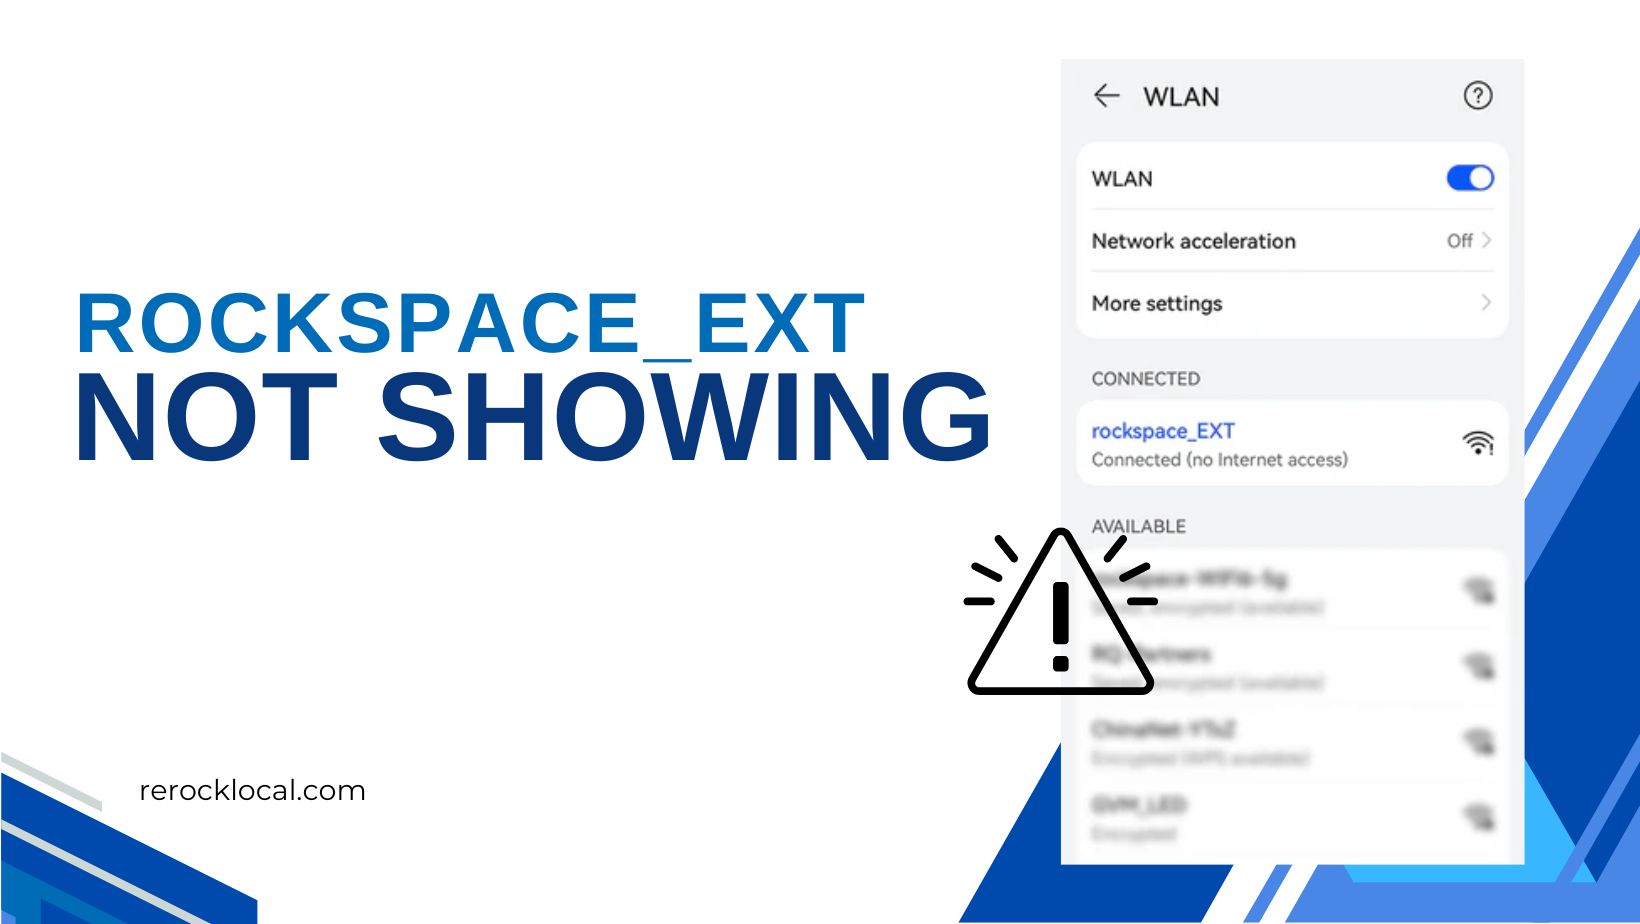
1. Connect to the Rockspace_EXT WiFi Network
- On your device, disconnect from your regular WiFi.
- Find and join the network called “Rockspace_EXT.”
2. Open Your Web Browser
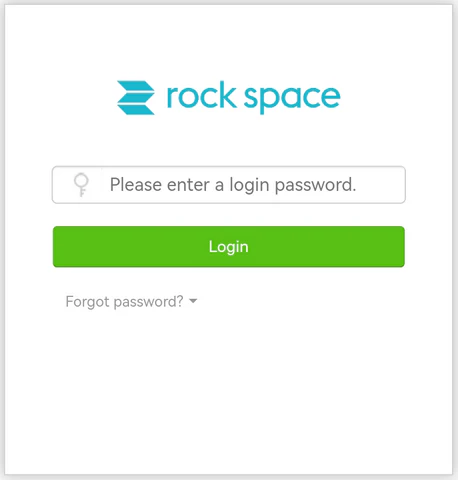
- Type http://re.rockspace.local in the address bar.
- If it doesn’t load, try 192.168.0.254 as backup.
3. Enter Rockspace Admin Credentials
- By default:
Username: admin
Password: admin (or leave blank in some models) - If you’ve set a custom password before, enter that instead.
4. Access the Dashboard
- Here you can:
- View signal quality and reposition your extender
- Set up guest networks or change network name (SSID)
- Secure your network with a new admin password
- Check for firmware updates
5. Don’t Forget to Save Changes!
- Whenever you edit a setting, click Save/Apply before rebooting or moving the extender.
Troubleshooting re.rockspace.local Admin Login
- Can’t Access Portal?
- Make sure you’re connected to Rockspace_EXT, not your main WiFi.
- Clear your browser cache or use incognito mode.
- Try an alternative browser or device.
- Forgot Admin Password?
- Press and hold the Reset button on your Rockspace WiFi extender for 10 seconds to restore defaults.
- Portal Loads Slowly or Not at All?
- Move extender closer to router; ensure it’s powered on with a stable LED.
- Use the IP 192.168.0.254 if the local domain doesn’t work.
Practical Setup and Troubleshooting Tips
- Always connect your device to the “Rockspace_EXT” network before accessing the setup portal.
- Use the extender’s IP address (
192.168.0.254) as an alternative if the local domain does not load. - For best results, place the extender in an open area away from sources of signal interference such as thick walls, large metal appliances, or microwaves.
- Initiate a factory reset (hold the reset button for 10 seconds) if you encounter repeated setup failures.
- After completing setup, reboot both your extender and Xfinity router to ensure a stable network connection.
- Keep firmware updated on your Rockspace WiFi range extender for maximum compatibility and security.
FAQs
A: Try using the IP address (192.168.0.254), connect directly to Rockspace_EXT, or reset your extender.
A: You must be connected to the extender’s network for setup and admin changes.
A: It’s best to set a strong, unique admin password in the dashboard after first login.
The re.rockspace.local admin login page is your key to unlocking full Rockspace WiFi extender features, fixing problems, and keeping your network safe in 2025.