If you’re trying to connect to your Rockspace Wi-Fi extender but notice that Rockspace_EXT not showing in your list of available networks, don’t worry—this is a common issue with simple solutions. Whether you’re setting up your extender for the first time or reconnecting after a power outage, this guide will walk you through the steps to get your Rockspace extender back online.
Why Is Rockspace_EXT Not Showing Up?
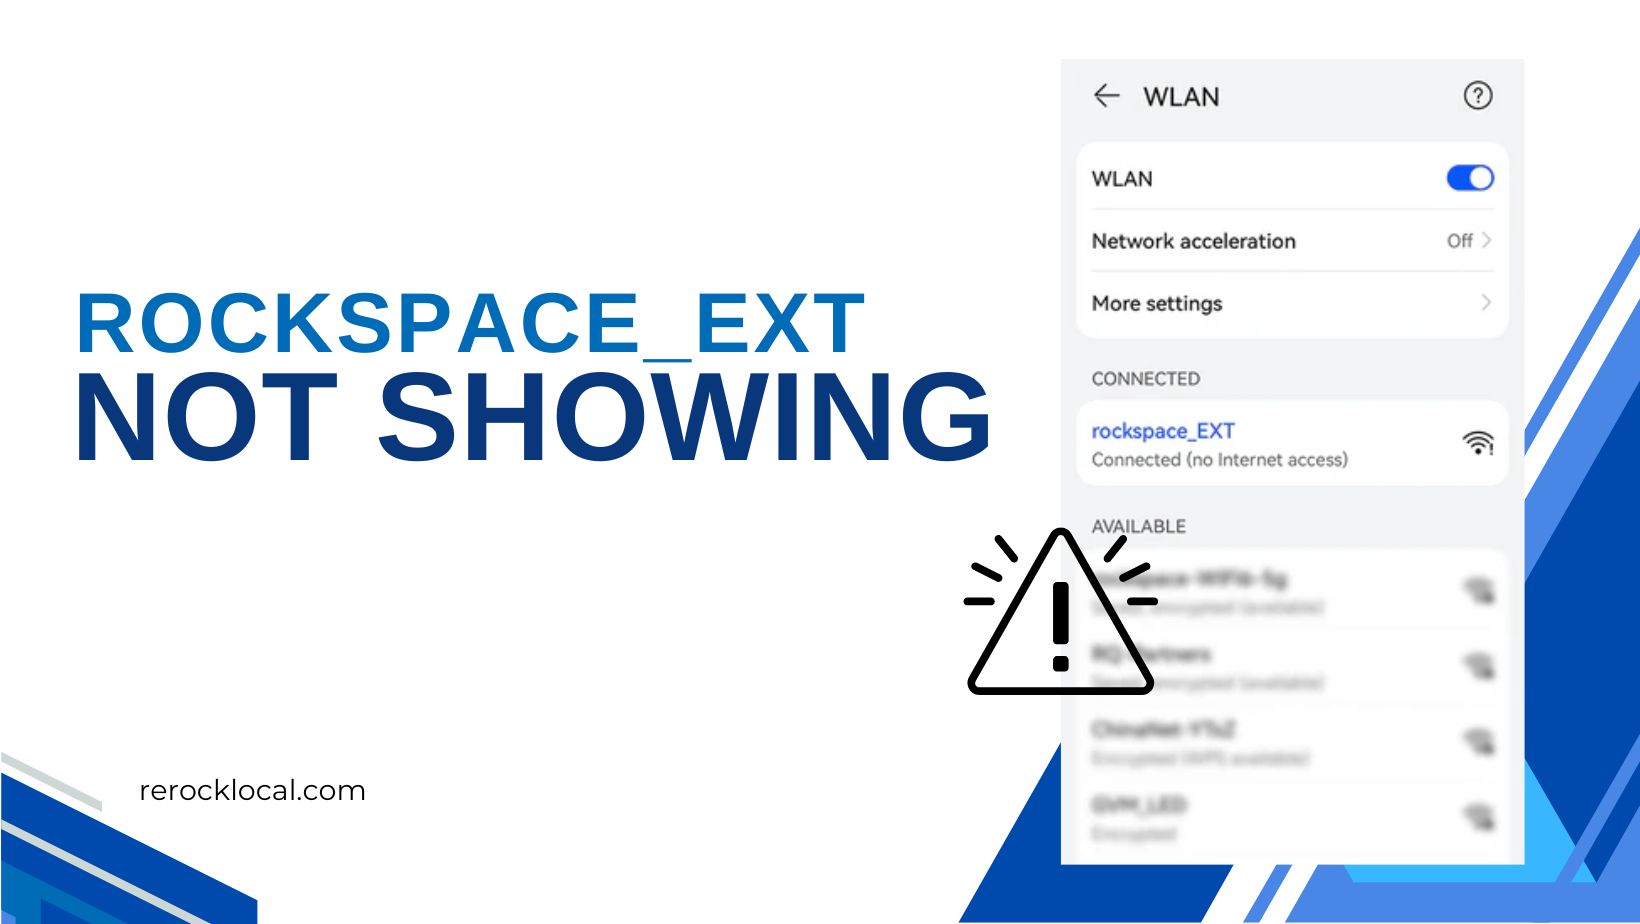
The Rockspace_EXT network is the default Wi-Fi name (SSID) for Rockspace extenders. If it’s not appearing in your network list, it could be due to:
- The extender not being powered on or properly connected.
- The extender being too far from your router.
- Interference from other devices or physical obstructions.
- A temporary glitch or configuration error.
Let’s dive into the steps to resolve this issue and get your extender working again.
Step-by-Step Solutions to Fix Rockspace_EXT Not Showing
1. Check the Extender’s Power and LED Lights
- Ensure the Rockspace extender is plugged into a working power outlet.
- Look at the LED lights on the extender:
- A solid or blinking light means the device is powered on.
- If there are no lights, try a different outlet or check the power adapter.
2. Restart the Extender
- Unplug the extender from the power outlet.
- Wait for 30 seconds, then plug it back in.
- Allow the extender to reboot and check if Rockspace_EXT appears in your network list.
3. Reset the Extender to Factory Settings
If restarting doesn’t work, a factory reset can help:
- Locate the reset button (usually a small pinhole on the extender).
- Use a paperclip or pin to press and hold the button for 10–15 seconds.
- Release the button and wait for the extender to reboot.
- After the reset, the Rockspace_EXT network should reappear in your Wi-Fi list.
4. Move the Extender Closer to Your Router
- If the extender is too far from your router, it may not broadcast the Rockspace_EXT network effectively.
- Move the extender closer to your router and check if the network appears.
5. Reduce Interference
- Other electronic devices (e.g., microwaves, cordless phones) or physical obstructions (e.g., walls, furniture) can interfere with the extender’s signal.
- Place the extender in an open area, away from potential sources of interference.
6. Refresh Your Device’s Wi-Fi Settings
- Ensure your device’s Wi-Fi is turned on and not in airplane mode.
- Refresh the list of available networks on your device.
- If you’re using a laptop, try disabling and re-enabling the Wi-Fi adapter.
7. Use WPS to Reconnect
If the Rockspace_EXT network is still not showing up, try using the WPS (Wi-Fi Protected Setup) method:
- Press the WPS button on your router.
- Within 2 minutes, press the WPS button on your Rockspace extender.
- Wait for the extender to connect to your router. The Rockspace_EXT network should reappear.
8. Manually Connect to the Extender
If the network is still not visible, try connecting manually:
- Look for the extender’s default network name (e.g., Rockspace_XXXX) in your Wi-Fi list.
- Connect to this network using the default password (found on the extender’s label or in the user manual).
- Access the extender’s setup page via a web browser (e.g.,
http://re.rockspace.localor192.168.0.254) and reconfigure it.
9. Update the Extender’s Firmware
- Outdated firmware can cause connectivity issues.
- Visit the Rockspace support website, download the latest firmware for your extender model, and follow the instructions to update it.
FAQ
There could be several reasons, including signal strength, interference, or a password mismatch. Follow our guide for troubleshooting steps.
It depends on your device’s compatibility with the extender’s frequency band (2.4GHz or 5GHz).
While it’s safe, it should be your last resort. Try other troubleshooting steps first.
You can usually find it on a sticker on the extender or in its web interface.
Contact rockspace customer support for guidance on updating the firmware.
Yes, it’s a good practice to give it a unique name to avoid confusion.
Check for updates periodically, as new firmware can improve performance and compatibility.
Contact rockspace customer support for further assistance.